This is the complete user guide on how to sign-up, subscribe and use Loggify to build agile and hyper-growth content marketing teams.
Table of Contents
Sign-up on Loggify!
Go to Loggify.app and click the sign-up button. You will be redirected to Loggify Studio where you can sign-up with Google or mail. You will instantly reach the backend of your release notes operation. This is where the magic happens!
Loggify Plans and Features
You will need to select a Loggify pricing plan based on your company’s size and needs. When you add an organization in Loggify Studio, You are automatically subscribed to the free account that is good for an initial look around and publishing release notes on a linked page. To make the release notes pipeline useful, a paid plan is needed. More on setting up your organization later on but for now, let’s talk about the features that you get in Loggify plans if you choose to upgrade.
Loggify Features
- Number of Users - Loggify’s user management allows users to access and manage their data in a commonplace. This data centralization ensures teamwork, communications, and collaborations in a user-friendly environment. We call this the ‘central repository of update communication’ which is the central hub for all communication. This service ensures that your business can grow in a sustainable manner.
Our Startup Plan has a user limit of 10 people which is perfect for small businesses. This plan ensures that your team has essential resources for managing release notes with minimal expenses. The Growth Plan offers unlimited users and ensures that your business’s growth isn’t affected by limited access.
- Granular User Roles - Granular User Roles in Loggify allow business owners and administrators to assign unique roles and responsibilities to all users. Loggify has specified fixed responsibilities to four categories of users that include Admin, Manager, editor, and Viewer. Owners can also create custom roles and assign duties that fulfill their release notes requirements. Granular User Roles configuration is only available to Growth Plan users.
- Target-Group-specific copies - You can target different groups using different release notes. For example, One copy of your release note could be targeted for the company while the other copy of the release note is for the public. You can use this feature on both the Startup and Growth plan.
- Preview Image Generator - Loggify shows you a preview image of what your release note will look like after being published. This feature is available for all free and paid plans.
- Slack Integration - Slack is a popular service that helps businesses to communicate effectively in a shared environment. It allows integrations with several other business applications to increase operational efficiency. Loggify enables its users to Integrate Slack and share release notes quickly and effortlessly.
- Website Widget - Website widgets are the most commonly used method to integrate release notes into a website. They are easy to set up and require no maintenance. As they are independent of your hosting web page, they work perfectly for seamless release notes updates. Loggify provides a website widget that can be integrated into your website in just a few minutes.
- Hosted Release Notes Page - You get a link to a page that shows all your published release notes. You can share this link with your audience or use it in your marketing channels. This feature is available to all pricing plans including the free package.
- Newsletters - Loggify is a client-oriented service and strives to provide its users with a stunning customer experience. We realize that the companies need to interact with their customers through newsletters and we allow them to use their release notes updates as newsletters too. This feature is not yet available but will be available to growth plan users when ready.
- Chat Support - Free users get basic chat support while Startup plan users enjoy faster support. Users subscribed to growth plan receive priority chat support.
- Zapier + Make.com Apps - You can integrate Loggify with your Zapier and Make.com apps into your business workflow. This option is available for both Growth and Startup plans.
- REST API - You can also get an API of Loggify using the REST technology in both startup and growth plans.
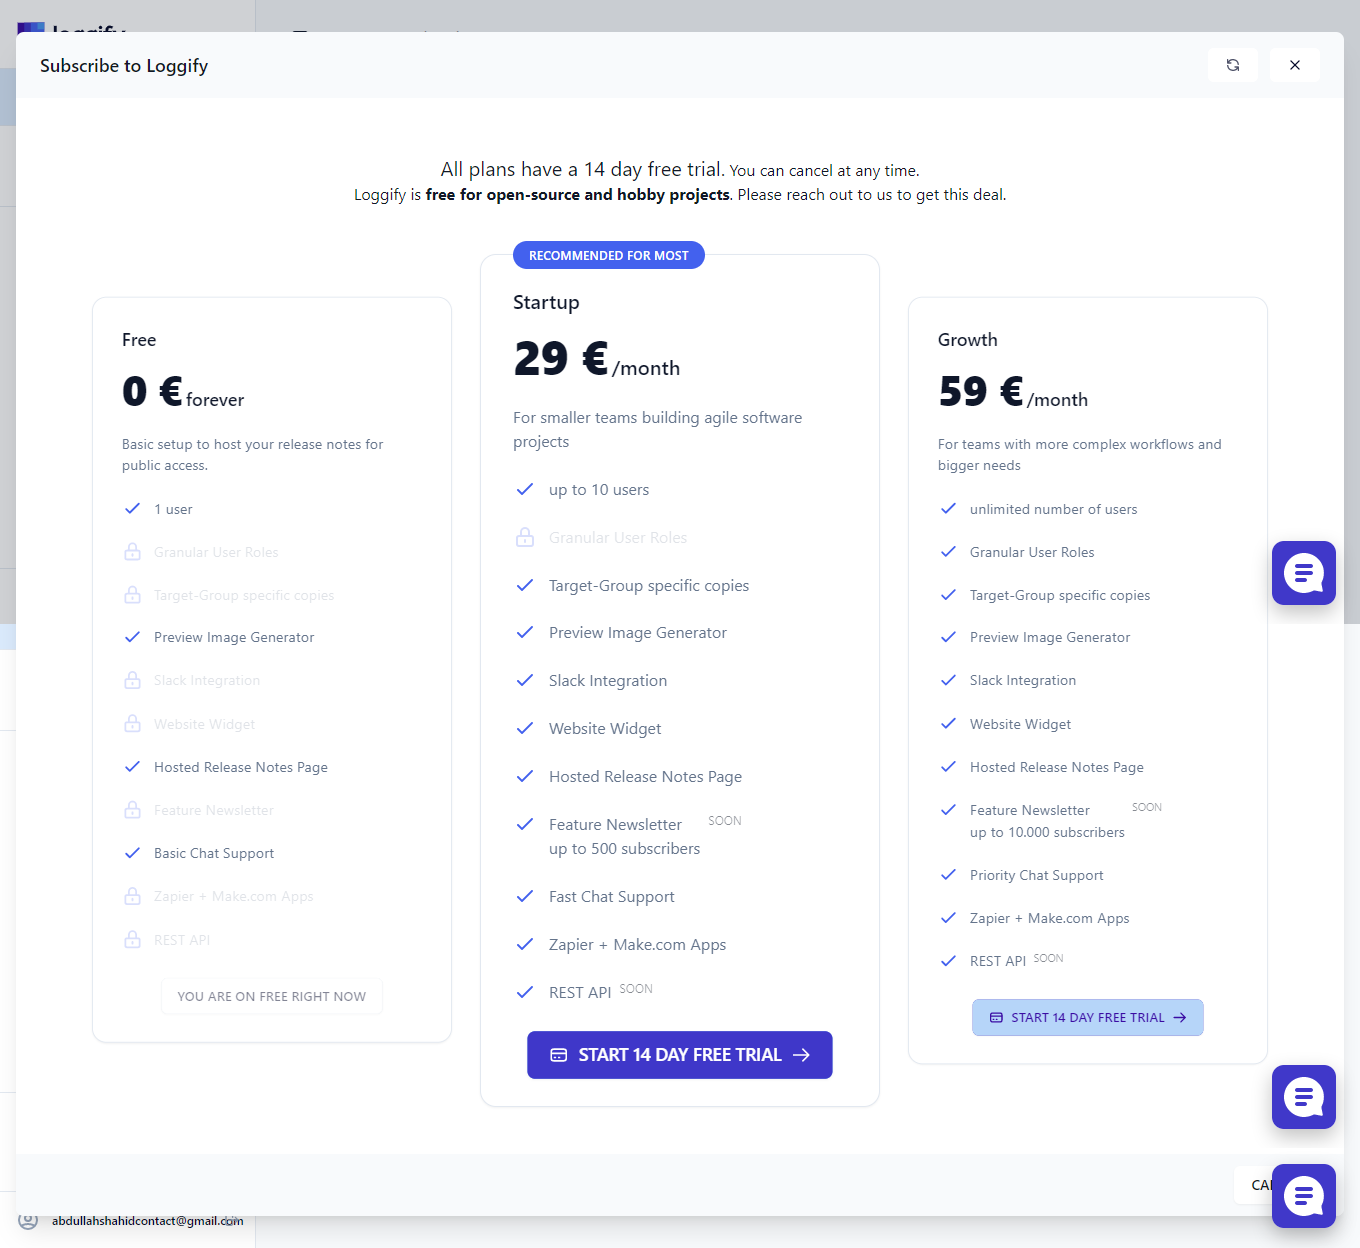
Comparing Logify Plans
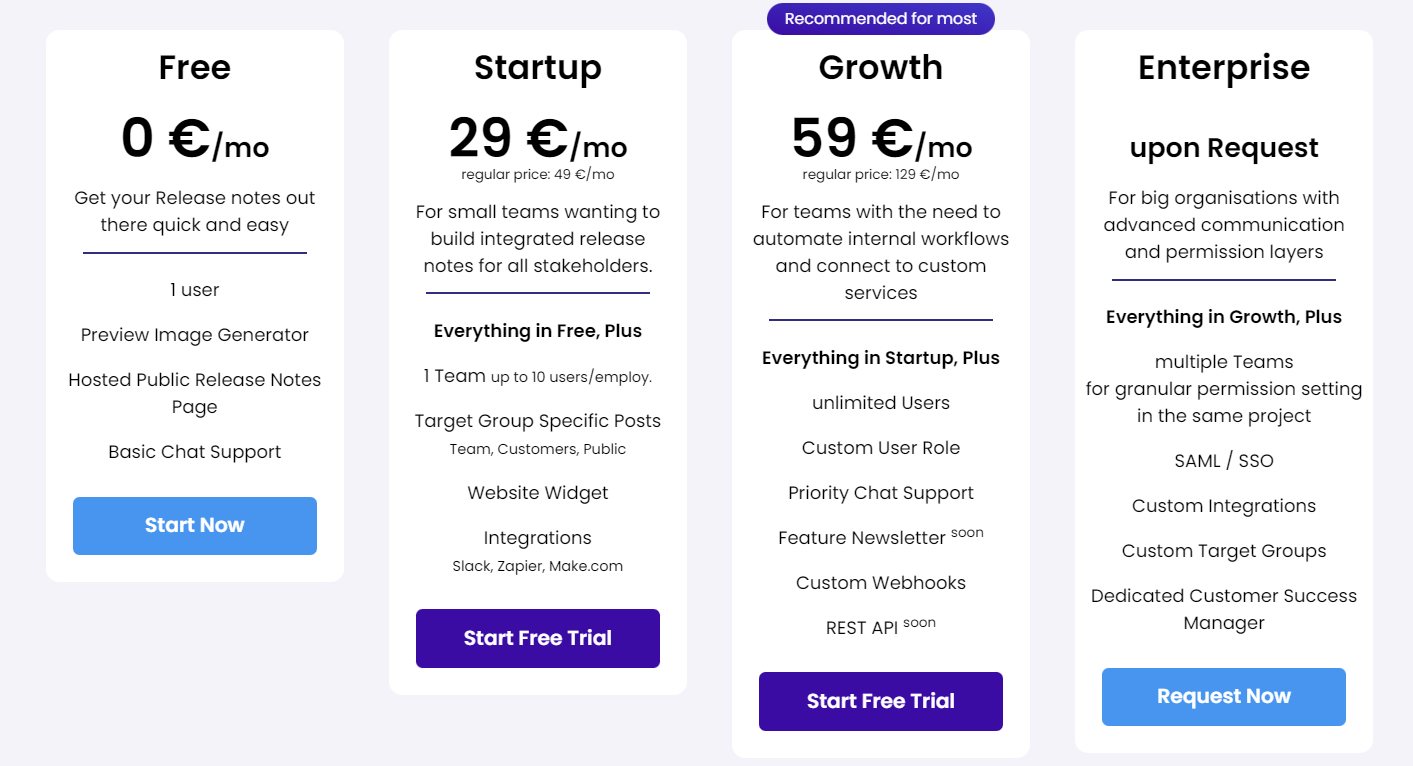
Start your 14-Days Free Trial!
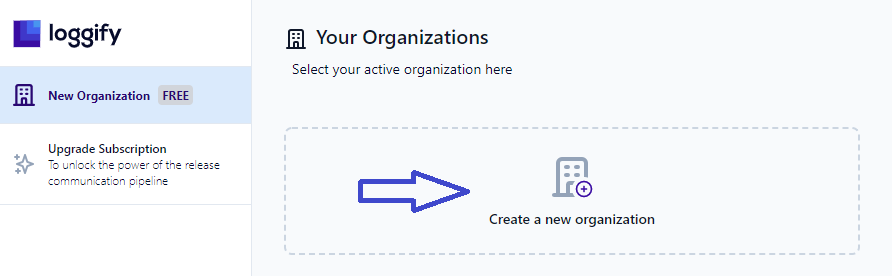
Setting Up Loggify
Step 1 - Click on “Create a new organization” and add the name and shortcode of the organization. You will now need to buy a plan for the created organization.
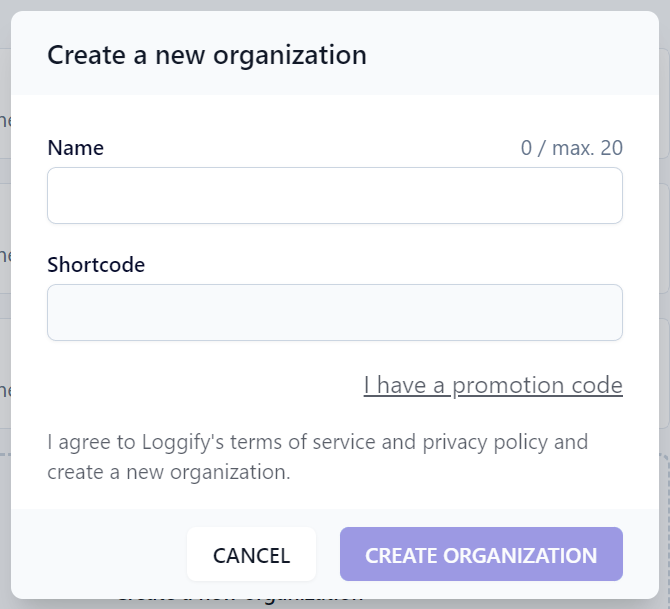
This will set you up to start using Loggify and create your logs. More functionality can be unlocked by upgrading plans.
Step 2
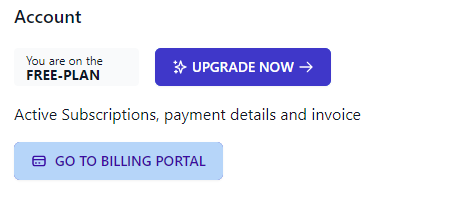
- To upgrade Loggify’s pricing plan, Click on “Upgrade Now” in the Settings section.
Step 3 - Click on “UPGRADE NOW”
Step 4 - Choose the Loggify Plan that you want to use and click “Start 14-Day Free Trial” button to get started with the payment procedure.
Step 5 - You will be directed to the payment page where you can pay via your card to subscribe to Loggify and start your 14-day trial.
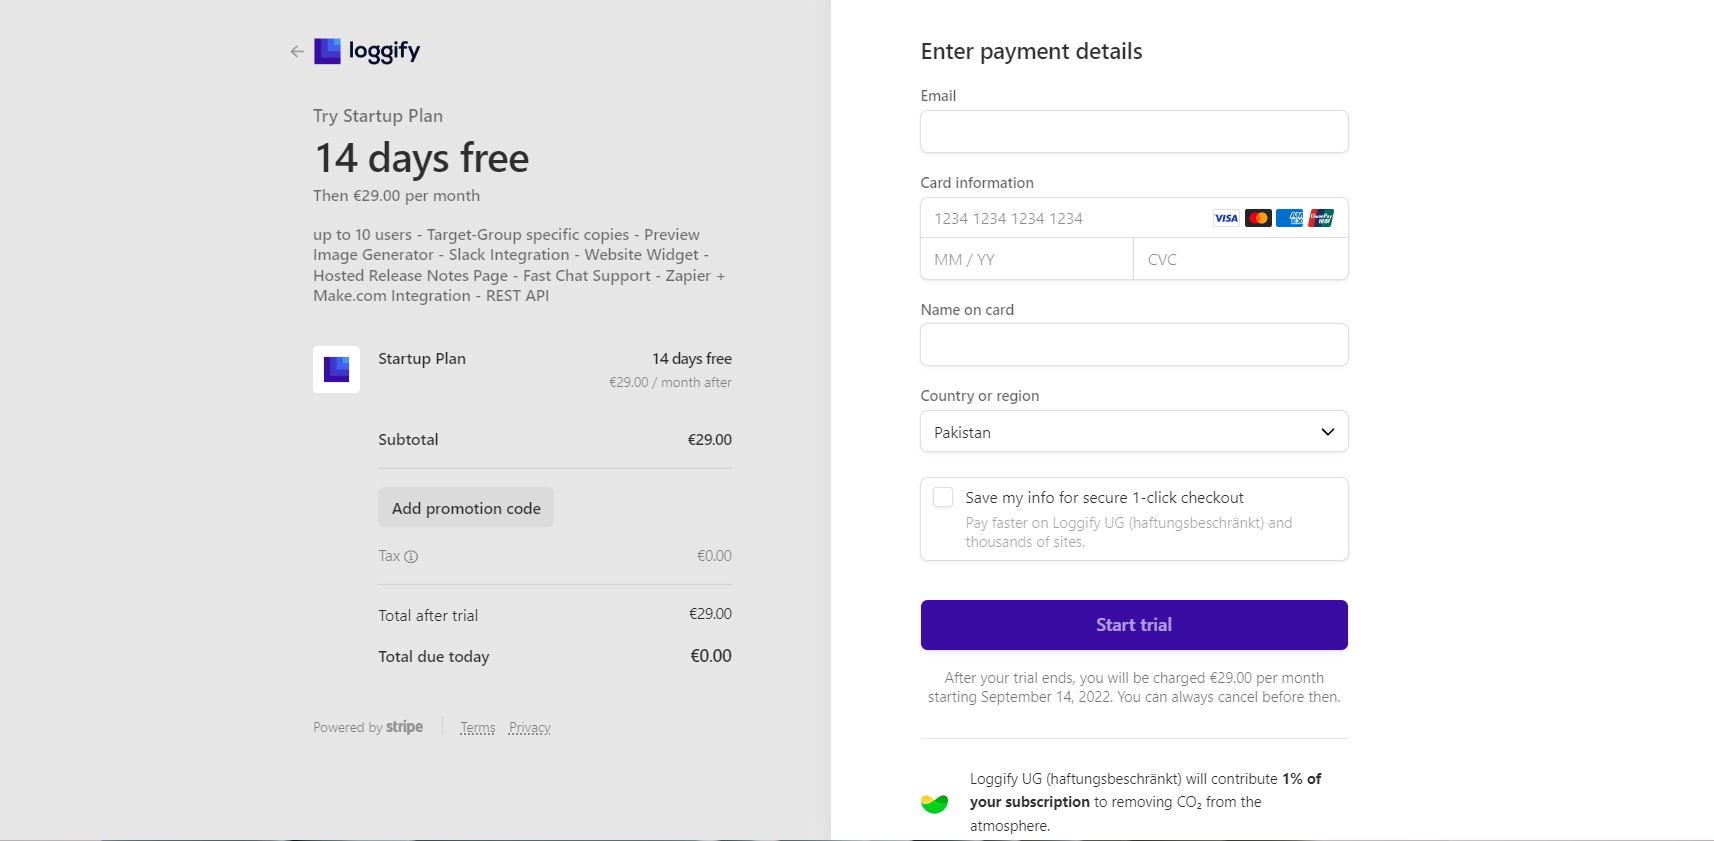
You will be subscribed to the Loggify’s plan and your 14-day trial will begin!
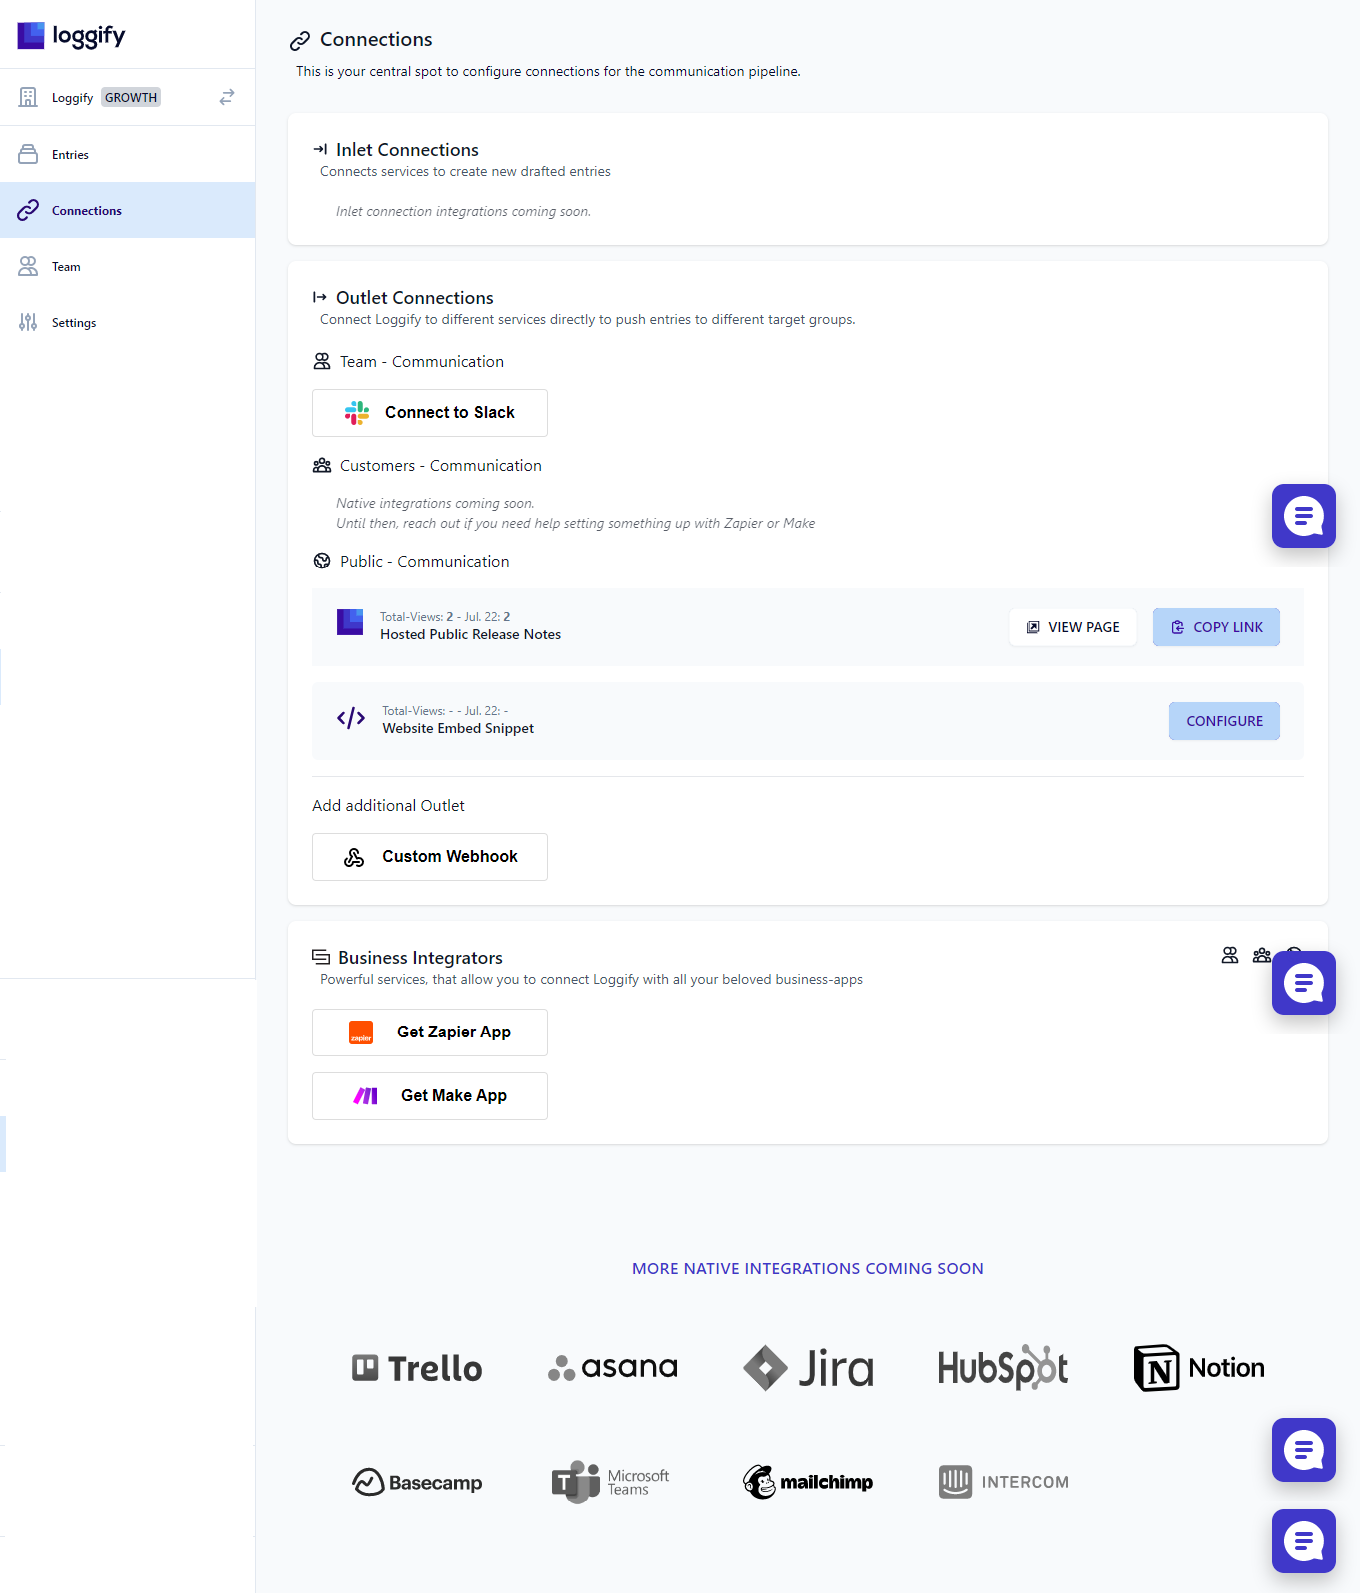
Set Up Connections/Integrations
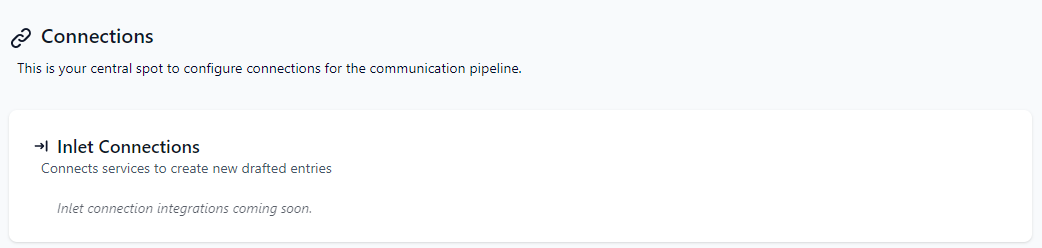
Inlet Connections
Loggify is working on the development of inlet connections that will help you integrate your release notes creation with other management tools so that you can create and schedule release notes from other apps too.
Outlet Connections
Setup outlet connections such as Slack and your own website to push release notes into different channels with one click. To connect to Slack, click on the “Connect to Slack” button that will redirect you to Slack. You will have to install Loggify’s app on your Slack workspace and choose which channel to push release notes into.
You also get a free hosted public release notes page which you can review. This page is hosted on Loggify and shows all your published release notes. You can simply copy and use this link to show release notes to your audience, investors and team.
Loggify also offers custom integration by providing you with an HTML code that enables release notes snippets on your website. New release notes are automatically pushed to this page on your website.

Add Additional Outlets
While we provide the majority of the app integrations in Loggify, some businesses can require more. This is why, businesses can add custom webhook to maintain or modify their release notes with a third-party app that they use. =
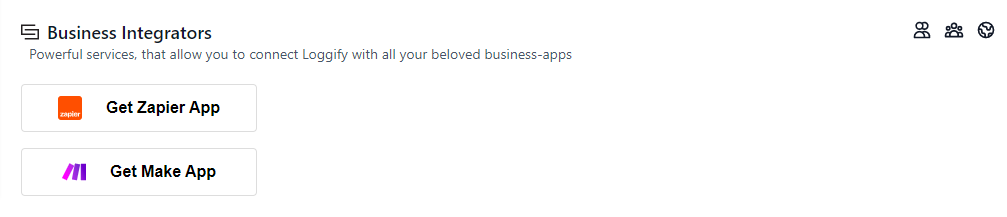
Business Integrators
You can request a Zapier and Make API to integrate Loggify into your workflow.
Configure Your Team
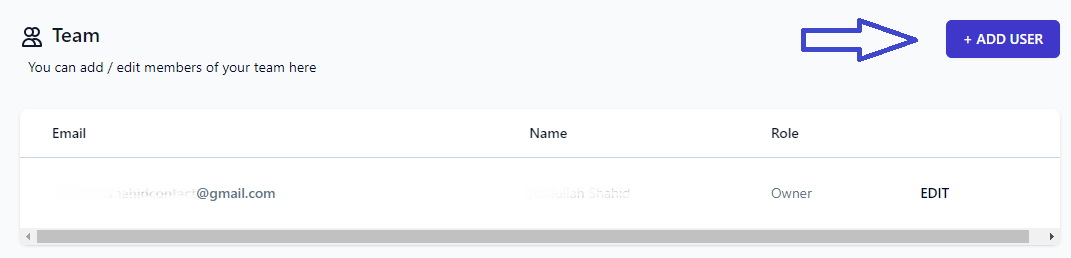
You can add multiple people to your team and assign them different roles. They could be your marketing professionals or web developers who know about the latest changes. They can help you create and manage your release notes. Here is how to add them:
Step 1 - Click on “ADD USER” in the Team section
Step 2 - Add the Name and Email of the new user in Basic Details
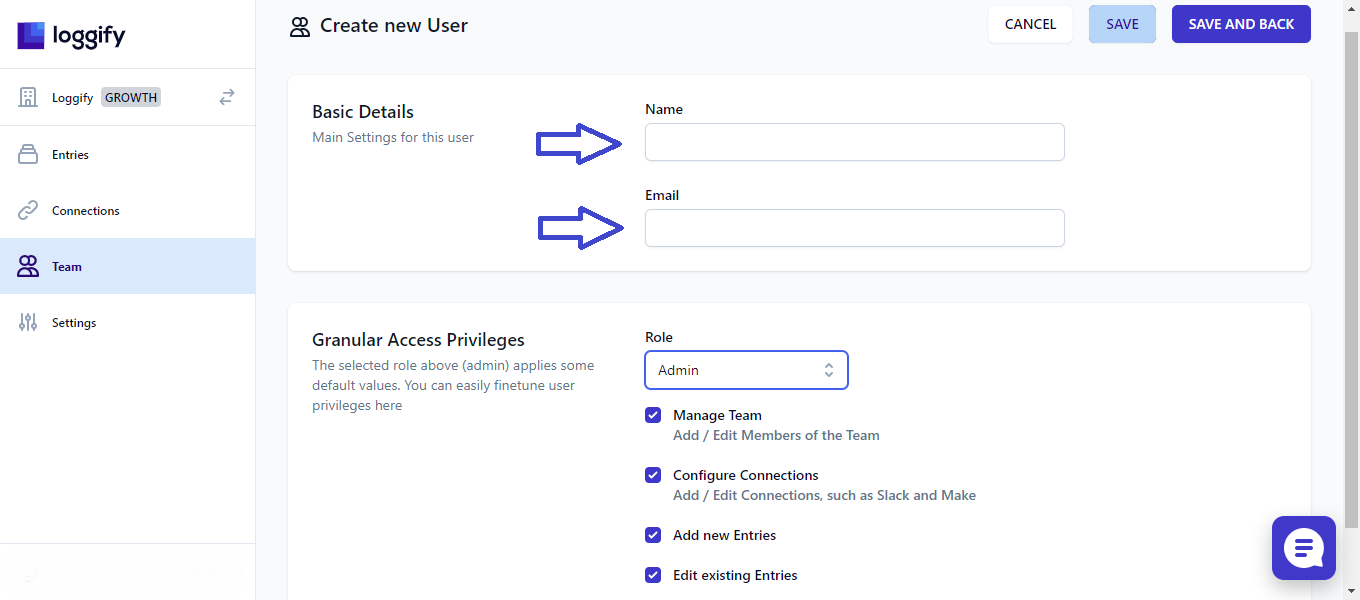
Step 3 - Click Under “Role” and Assign their role

Step 4 - Click on “SAVE AND BACK” to save changes and go back to the main menu

How to Create Entries/Posts in Loggify?
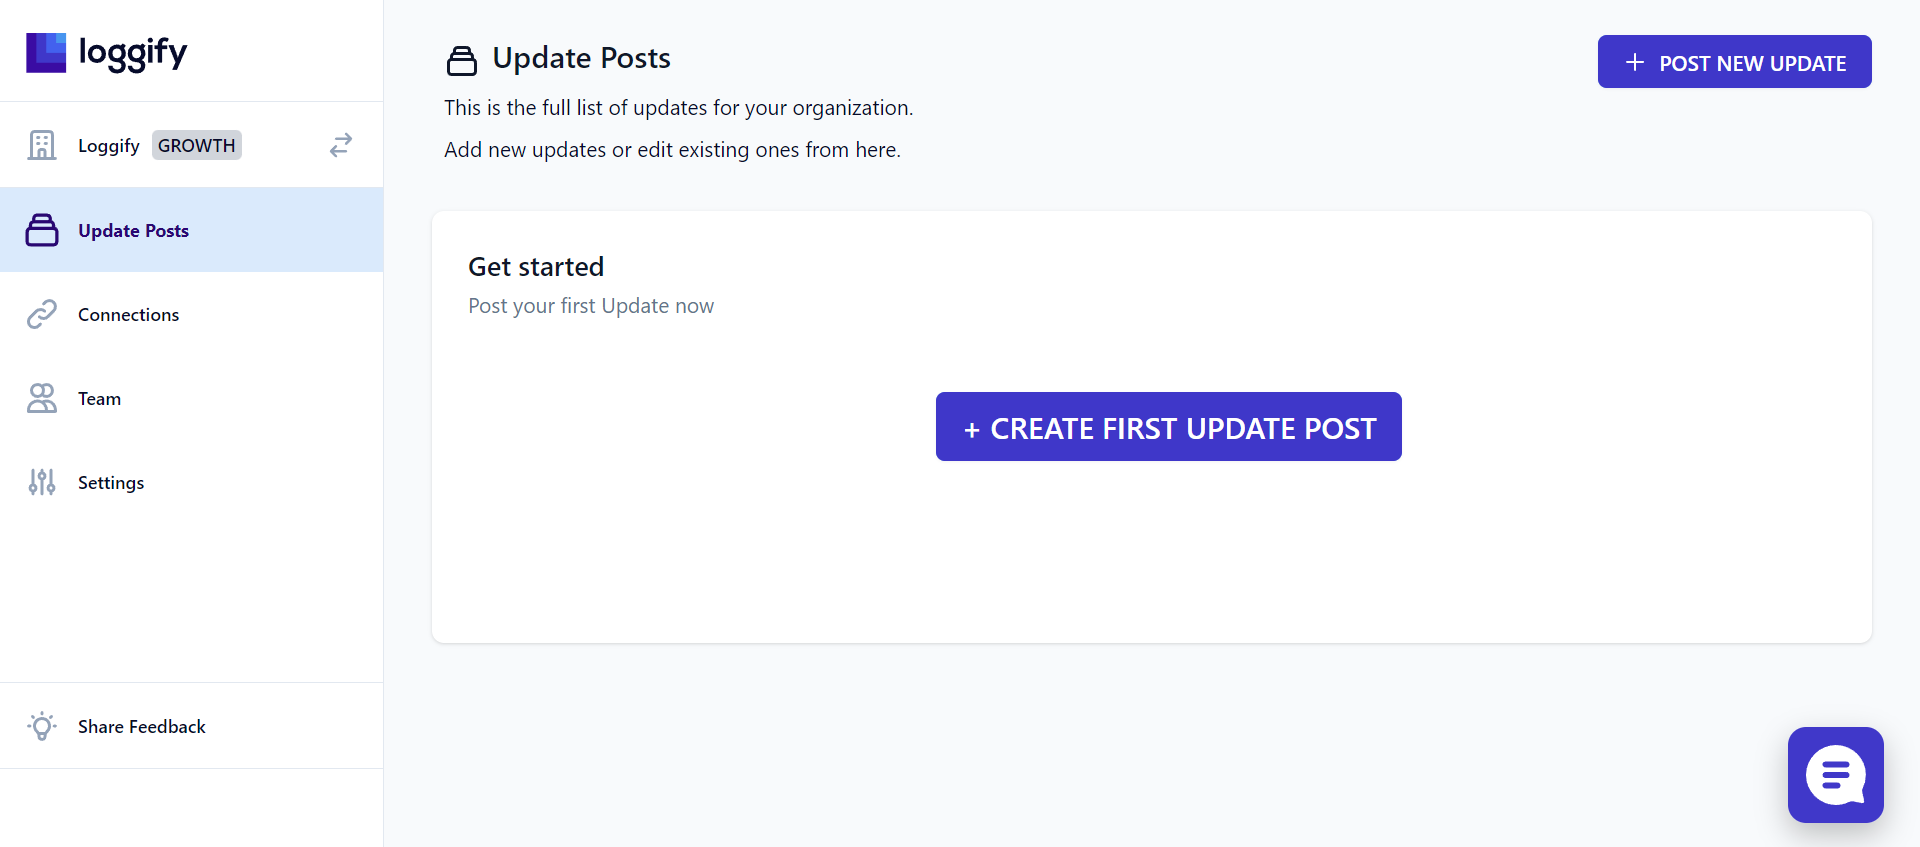
This is where the magic happens. You can create your release notes entry and publish it in all selected channels with one click. Here is how to post release notes:
Step 1 - Click on “CREATE FIRST UPDATE POST” in the Update Posts section
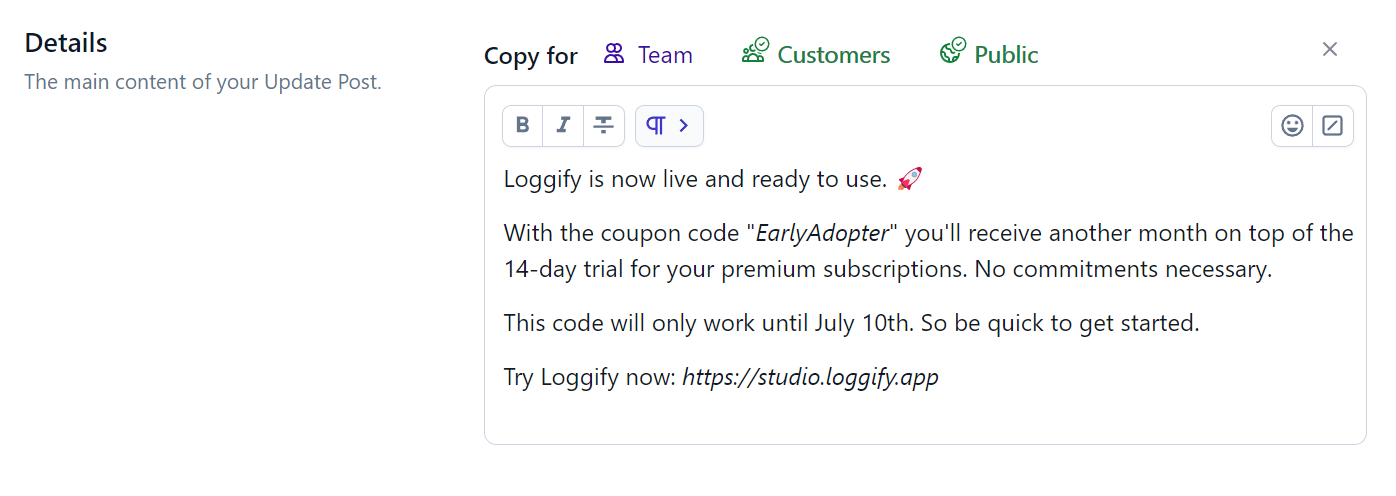
Step 2 - Add metadata of the release notes including the title, unique ID, date and status (live or draft).
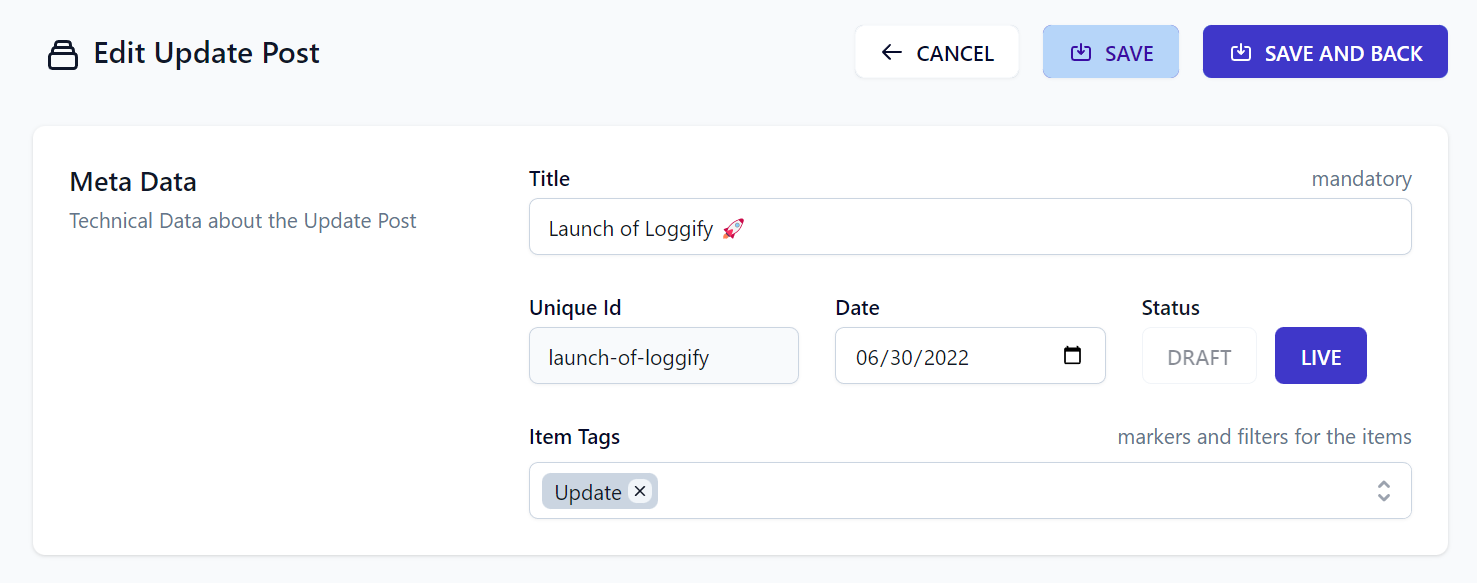
Step 3 - Add Log Details. You can add emojis, images, text, and URLs in this section. Structure it well and design it based on your brand book. You can also create copies of this release note and edit it for different target groups such as customers, teams, and the public.

Step 5 - Click on “SAVE AND BACK” to save changes and go back to the main menu. Your release note is saved!

Click on “EDIT” to make changes to existing entries

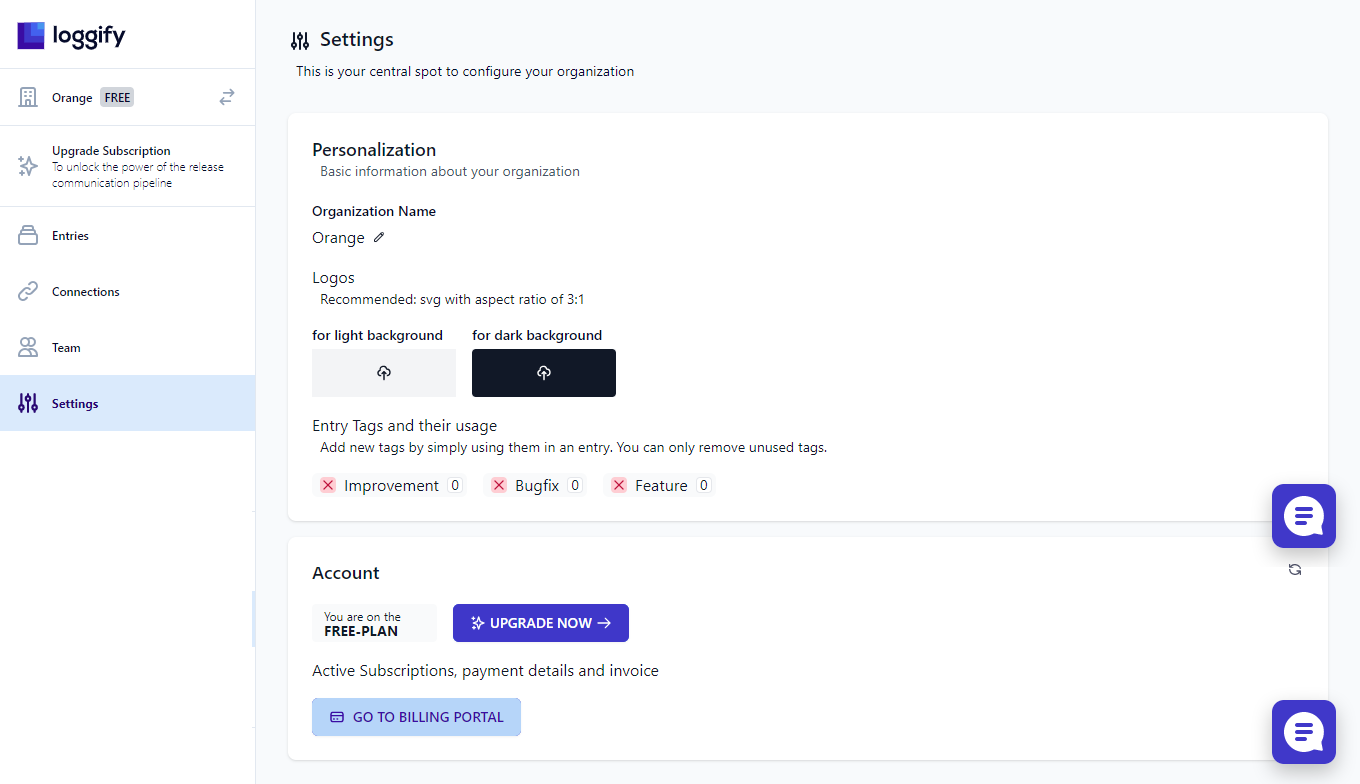
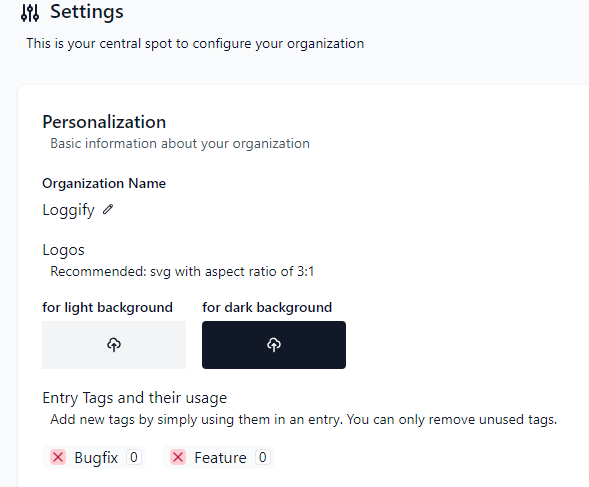
Overview of Loggify’s Settings
You can change your organization’s name in settings and add your logo to be used in your release notes. There are two options for uploading light and dark background logos. At the bottom of the settings, you’ll see the option to change your pricing plan and upgrade.
For more information, visit our website.
Start your 14-day free trial today!